6 Ways to Fix “macOS Could Not Be Installed on Your Computer” Issue
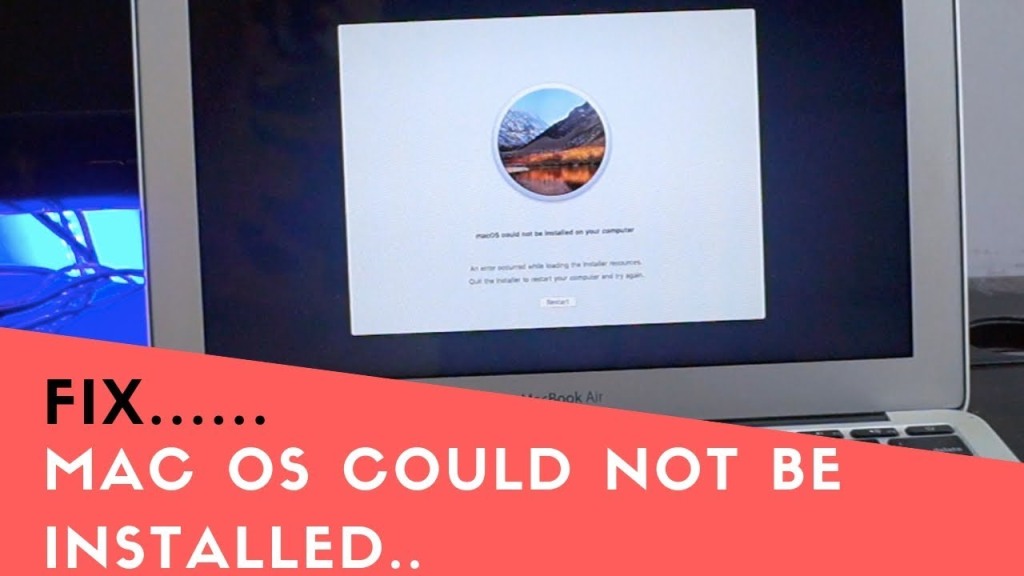
While installing macOS on your Mac, sometime you might see the macOS Could Not Be Installed error on your Mac’s screen. In this article, we are going to fix this error. If you were searching for the same issue, then you have come to the right place. Let’s solve it.
6 Ways to Solve the MacOS Could Not Be Installed Error
1st Way: Rebooting Device and Restarting the Installation
- Reboot the device and then restart the installation process from the beginning.
- You should now able to install the OS correctly without any glitches.
2nd Way: Reconfiguring Time and Date Settings
- Go to the Apple icon.
- Click on the System Preferences option.
- Choose Date & Time.
- Press on the Lock icon, and then you will be asked to enter your Mac’s password.
- Enter the password and modify the time and date settings.
- Press on the Set date and time automatically option.
- Rerun the macOS installation process to check if the problem persists.
3rd Way: Clearing Storage Space
- The macOS installation can fail if the drive in which you are installing or updating OS doesn’t have sufficient free space.
- In order to inspect the available free space, first, go to Apple Logo on the upper-left corner of your Mac.
- Then click on the About This Mac option.
- Now head to the Storage option.
- See how much space you have left in SSD.
- If space is low and not enough for the macOS installation, then free up some space by transferring large files to external portable storage.
4th Way: Downloading the macOS Installation Files Again
- First of all, find the old macOS installation files or installers.
- Remove the installer from your device by deleting it.
- Now use a sturdy connection to download the MacOS installer again.
- Once the installer is downloaded, launch it and then install the MacOS.
- See if the macOS Could Not Be Installed issue is resolved or not.
5th Way: Resetting Your Mac’s NVRAM
NVRAM is a small memory in a Mac used to store primarily details such as time, monitor resolution, and boot disk. After you do this, your time will be redefined and you will have to set the time and date again. Here’s how to perform it:
- Turn off the Mac.
- Switch on your Mac again and then instantly long-press these keys together: Command + Option + P + R.
- Don’t release the keys until 20 seconds pass while holding them.
- Release the buttons.
- The reset of Mac’s NVRAM is now completed.
6th Way: Restoring Your Mac with a Backup
If you have a backup of your Mac then you should follow these instructions to restore your device:
- Connect the backup drive to your computer and then reboot the device.
- Once the computer startup begins, immediately hit and hold the Command + R keys together until you see the Apple Logo on the screen.
- Now you will be asked to choose the primary language, so choose your preferred language.
- A window will open known as macOS Utilities.
- Press the Restore From Time Machine Backup option.
- Now tap the Continue button.
- Press the Continue on the next screen as well.
- Now select the drive in which backup is stored and then choose the Continue option.
- You can now choose the backup according to the dates, so choose the older one that was not affected by the error.
- Hit Continue.
Maria Davis is a self-professed security expert; he has been making the people aware of the security threats. His passion is to write about Cyber security, cryptography, malware, social engineering, internet and new media. He writes for Norton security products at norton.com/setup.


Comments
Post a Comment